This page is part of archived documentation for openHAB 3.3. Go to the current stable version
# HABPanel
HABPanel is a lightweight dashboard interface for openHAB.
It notably features an embedded dashboard designer allowing to build interfaces easily right on the target device.
# Configuration
Unlike Basic UI and other interfaces, HABPanel doesn't use pre-configured sitemaps.
It can however store all its configuration (called panel configurations, including sets of dashboards, custom widgets definitions, and other settings) on the server as openHAB 2 service configuration variables.
You can access this server-side configuration in Paper UI, Configuration > Services > UI > HABPanel. From there, you can also lock down the embedded editing features globally to prevent accidental changes by end users. You can also specify the name of a known panel configuration to load immediately when starting to configure a brand new HABPanel instance; otherwise, the local browser's storage will be used only until you save a new panel configuration as detailed below.
# Getting started
- When accessing HABPanel for the first time on a new browser or device, you should be presented with a rather empty screen - follow the tutorial and begin by clicking (or tapping) on the top-right corner icon.
- You're now in edit mode, a link ("Add new dashboard") appeared, as well as an "Advanced settings" link.
- If you previously used HABPanel and stored some panel configurations on the server, go to "Advanced settings" and click on your previous configuration - it will be instantly brought back. Or, create your first dashboard: click/tap on the "Add new dashboard" link and give it a name.
- Click/tap on the dashboard tile to enter the dashboard editor
- Add your first widget: select the "Add Widget" menu and choose a widget type (let's say Dummy - a simple widget displaying an item's state)
- Move the widget by drag-and-drop and resize it with the white chevron - it appears when you click on the widget
- Hit on the three dots in the widget top-right corner to bring up its context menu and choose "Edit..."
- Adjust some settings (name, openHAB item etc.) and confirm your changes
- Save your configuration by clicking/tapping the Save button
- Click/tap Run to see your dashboard in action - use your browser's back button or the arrow to go back to the drawing board
- Once you're happy with your set of dashboards, go back to "Advanced settings" then click/tap on "Save the current configuration to a new panel configuration"; this will store it on the openHAB 2 server as described above, and make it available for reuse.
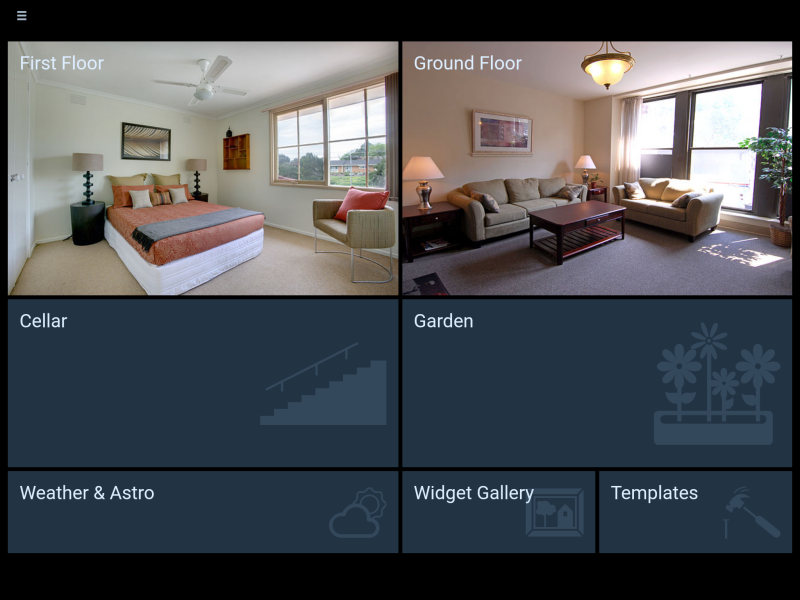
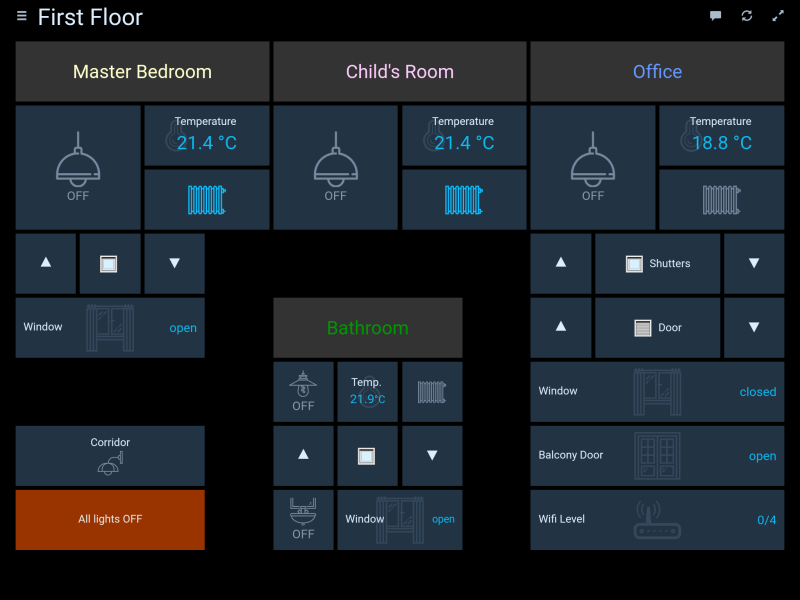
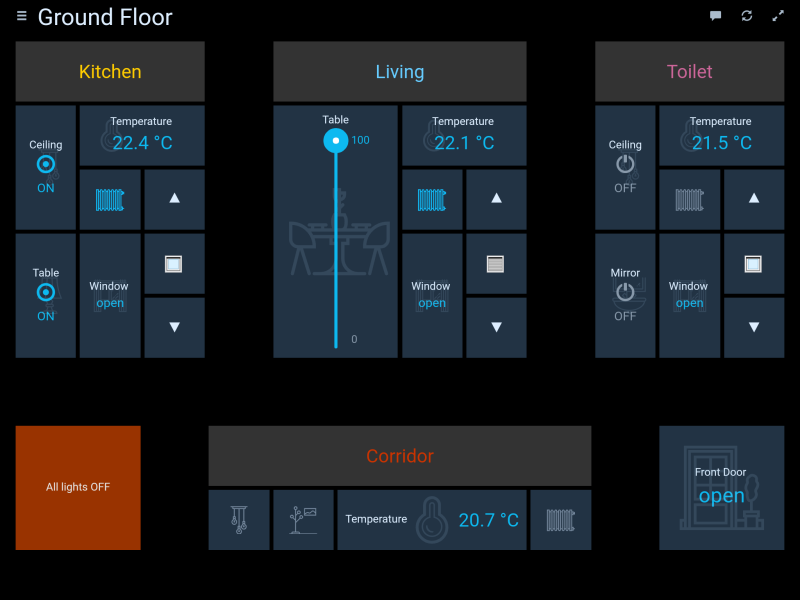
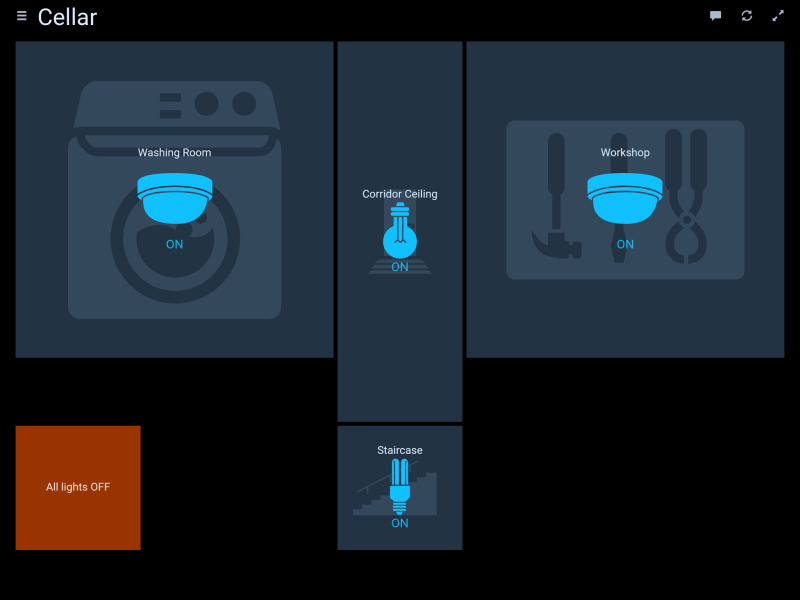
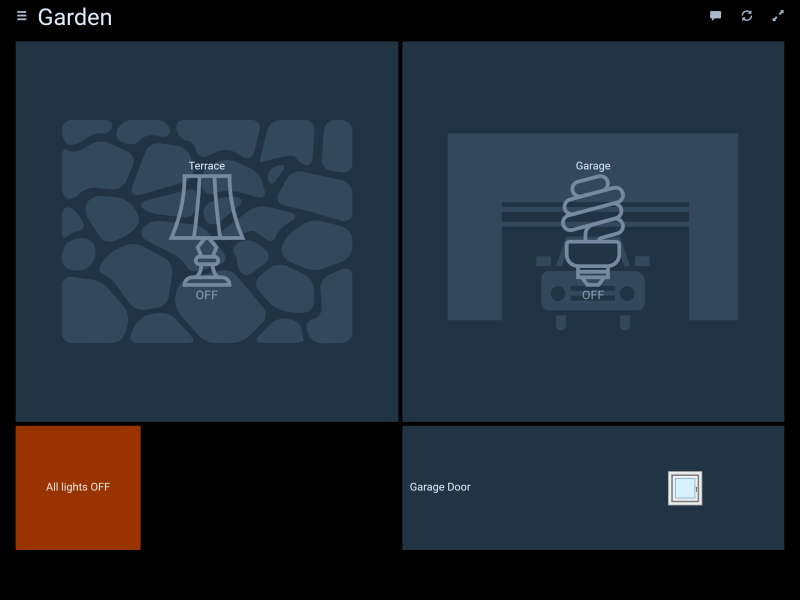
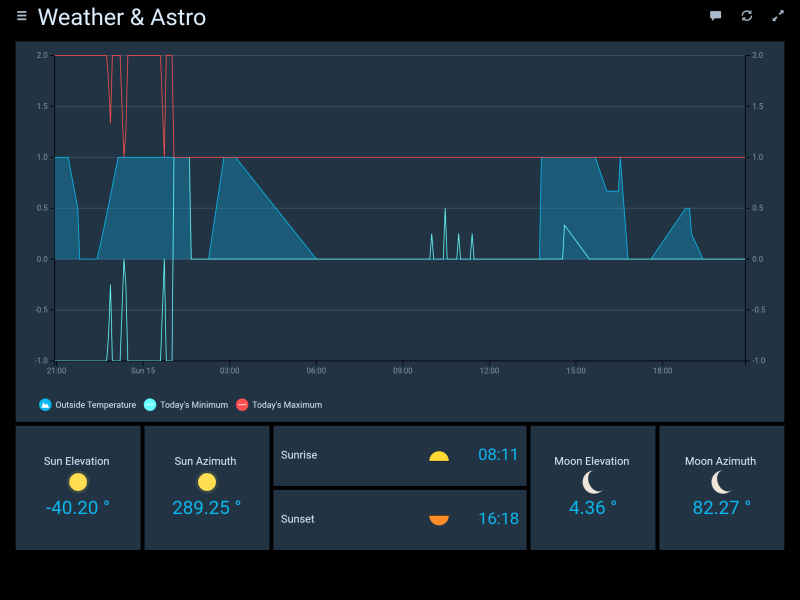
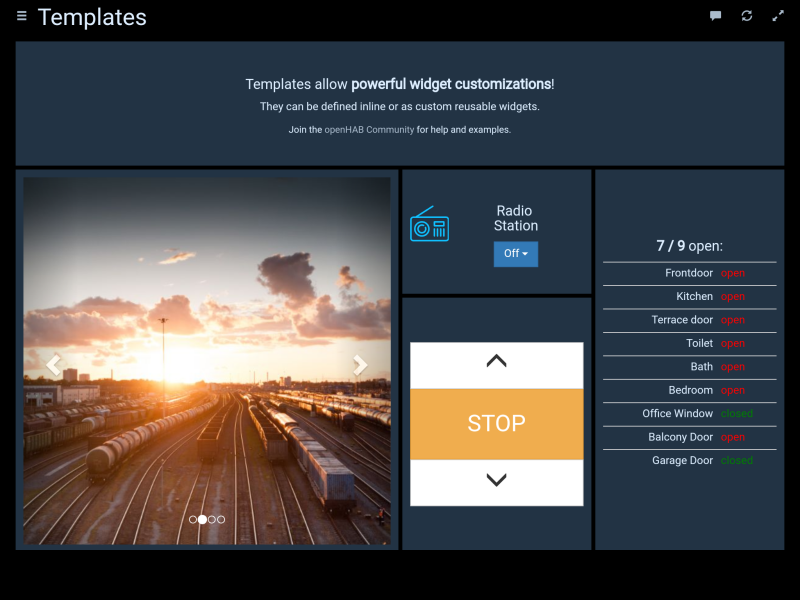
# Screenshots
← HABot